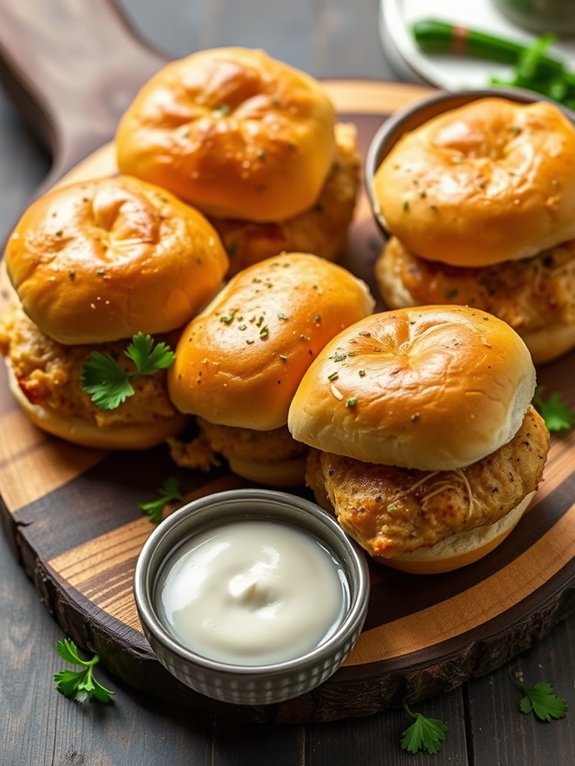

Chicken Pot Pie Biscuits
Chicken pot pie biscuits are a delightful twist on the comforting classic! You'll love the combination of tender, shredded chicken and vibrant veggies like carrots and peas, all enveloped in a flaky biscuit shell. Start by whipping up a savory filling with broth and seasonings that'll warm your soul. Then, roll out some biscuit dough, scoop in the filling, and seal them up for baking bliss. Once golden brown, they'll be the star of your meal! With endless variations to explore, like adding cheese or spices, there's so much more to discover about these irresistible treats!
Recipe Highlights
- Chicken Pot Pie Biscuits feature tender shredded chicken, fresh vegetables, and a savory creamy sauce wrapped in biscuit dough.
- You can customize the filling for dietary needs, using mushrooms and vegetable broth for a vegetarian option or adding jalapeños for a spicy twist.
- The biscuit dough is made by combining flour, baking powder, cold butter, and milk, then rolled out for filling.
- Bake at 375°F (190°C) for 20-25 minutes until golden brown, ensuring even baking with quality sheets.
- Serve with a side salad or soup for a complete meal, enhancing presentation with fresh herbs and colorful garnishes.
Ingredients You'll Need
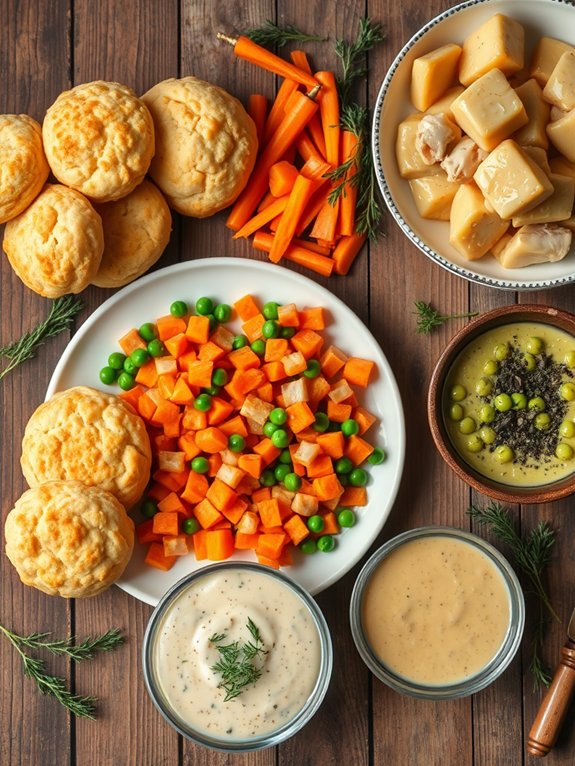
To whip up delicious Chicken Pot Pie Biscuits, you'll need a few key ingredients that come together for a comforting dish. First off, grab some tender chicken, preferably cooked and shredded, because that's the heart of your pot pie!
Next, don't forget about fresh vegetables—think carrots, peas, and celery—for that satisfying crunch and color. You'll also need a savory chicken broth to create a rich base that brings everything together.
Now, let's talk seasonings. You'll want a mix of garlic powder, onion powder, and thyme to elevate the flavors and make your taste buds dance with joy.
And what's a pot pie without some creamy goodness? A splash of heavy cream or sour cream will add that luscious texture everyone loves.
Last but certainly not least, you can't forget the biscuits! Whether you go for store-bought or homemade, they'll act like the cozy blanket that wraps around your filling. This dish is perfect for using a larger capacity slow cooker to ensure all the ingredients meld together beautifully.
With these ingredients in hand, you're well on your way to creating a dish that's not only hearty but also warms the soul. Get ready to impress your family and friends with your culinary skills!
Preparing the Chicken Filling
Now that you have all the ingredients ready, it's time to prepare the chicken filling. This part is where the magic happens! You'll create a savory, creamy mixture that'll make your taste buds dance with joy. Let's get started on this scrumptious filling!
- Cook the Chicken: In a large skillet, heat some butter over medium heat. Add diced chicken and season it with salt and pepper. Cook until it's golden brown and fully cooked through, about 7-10 minutes.
- Add Veggies: Toss in chopped onions, carrots, and celery. Sauté these until they soften, which should take about 5 minutes. Their sweetness will enhance the filling!
- Make it Creamy: Stir in flour and chicken broth, creating a delightful, creamy sauce. Add in your favorite herbs like thyme or parsley for that extra flavor boost. Let it simmer until thickened, about 5 minutes. Additionally, using a food processor can make chopping your vegetables much easier and quicker, especially with blade versatility and types.
Now you've got a delicious chicken filling ready to go! It's rich, comforting, and oh-so-satisfying. Trust me, this will be the heart of your Chicken Pot Pie Biscuits, and you won't be able to wait to dig in!
Making the Biscuit Dough
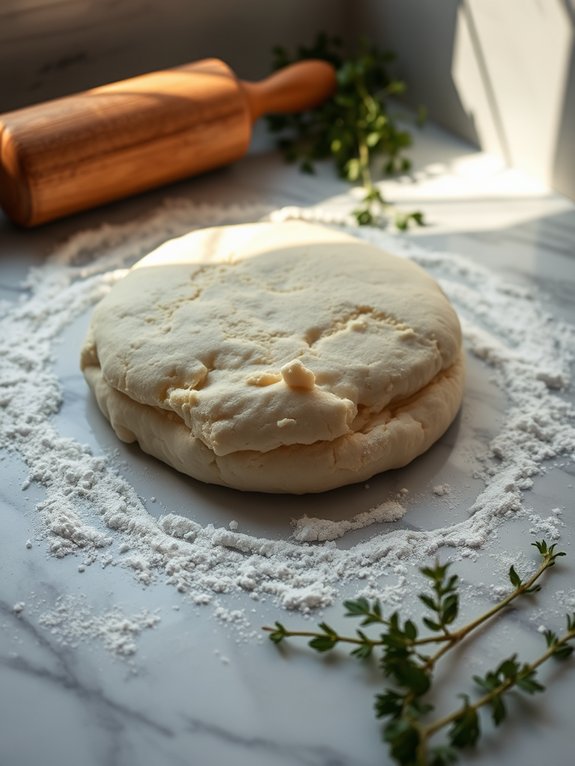
Creating the perfect biscuit dough is essential for your Chicken Pot Pie Biscuits. You want that flaky, tender texture that melts in your mouth, right?
Start by gathering your ingredients: all-purpose flour, baking powder, salt, cold butter, and milk. Make sure your butter is really cold because that's what creates those lovely layers!
In a large bowl, whisk together the flour, baking powder, and salt. Next, cut the cold butter into small pieces and toss it into the flour mixture. Use a pastry cutter or your fingers to work the butter in until it resembles coarse crumbs. You want some pea-sized chunks of butter for that flaky goodness!
Now, it's time to add the milk. Pour it in gradually, mixing gently with a fork just until the dough comes together. Don't overwork it! You want a soft and slightly sticky dough that'll make your biscuits rise beautifully. High-quality non-stick coatings can help prevent the dough from sticking to surfaces while you work.
If it feels too dry, add a splash more milk. Once it's ready, turn it out onto a floured surface and pat it into a rectangle. Trust me, your Chicken Pot Pie Biscuits will be the star of the show!
Assembling the Biscuits
Once you've got your biscuit dough ready, it's time to bring everything together. This step is where the magic happens! You'll be creating little pockets of deliciousness that'll make everyone swoon. Here are three steps to guide you through assembling your biscuits:
- Roll out the dough: Lightly flour your work surface and roll out the biscuit dough to about half an inch thick. You want it thick enough to hold your filling but thin enough to roll easily.
- Cut and fill: Use a biscuit cutter or a glass to cut out rounds. Place a spoonful of your scrumptious chicken pot pie filling in the center of each round. Don't overfill, or you'll have a messy situation!
- Seal and shape: Fold the dough over the filling, creating a half-moon shape. Pinch the edges to seal them tightly, ensuring no filling escapes during baking. Using a cutting board that suits your needs will help keep your workspace organized and efficient.
Once you've sealed all your biscuits, they're ready to head into the oven. The anticipation builds as you think about that golden-brown crust and warm, savory filling.
Get ready for a delightful treat that'll wow your taste buds!
Baking Instructions
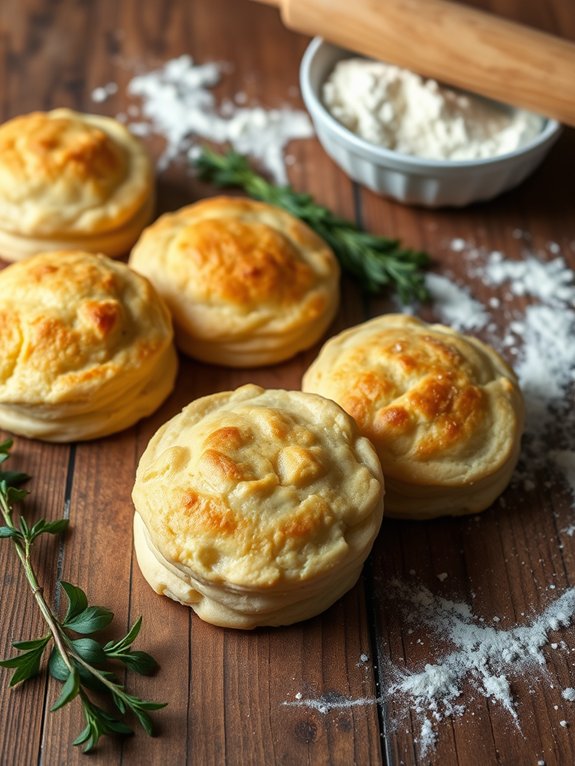
With your biscuits sealed and ready, it's time to pop them in the oven. Preheat your oven to 375°F (190°C) and make sure it's nice and hot. This step is essential because you want that golden-brown crust to develop perfectly.
Once the oven's ready, place your biscuits on a baking sheet lined with parchment paper. Give them a little space—about an inch apart—so they can rise and expand without crowding each other.
Now, it's time to bake! Slide the baking sheet into the oven and set a timer for 20 to 25 minutes. Keep an eye on them; you want to see that beautiful golden color. The aroma will start to fill your kitchen, and trust me, it'll be hard to resist sneaking a peek!
When they're done, pull them out and let them cool for a few minutes. This short wait will keep you from burning your mouth on that delicious filling. Remember, using a high-quality baking sheet material can influence the evenness of the baking process.
Once they've cooled slightly, serve them up warm, and watch everyone's faces light up. There's nothing quite like the joy of biting into a flaky biscuit packed with savory filling. Enjoy your creation!
Tips for Perfect Biscuits
How can you guarantee your biscuits turn out perfectly every time? It's all about the little details! Follow these tips, and you'll be well on your way to biscuit bliss.
- Cold Ingredients: Keep your butter and liquid cold. This helps create those flaky layers we all love. You can even pop your flour in the fridge for a bit!
- Don't Overmix: When you're combining your ingredients, mix just until everything's incorporated. Overmixing can lead to tough biscuits, and nobody wants that.
- Use a Light Touch: When shaping your biscuits, handle the dough gently. The more you knead or press, the tougher they get. Aim for a gentle pat and fold technique.
With these tips, you'll be whipping up light, fluffy biscuits that'll make your chicken pot pie irresistible! Additionally, using proper maintenance techniques for your chef knives ensures they remain sharp and effective, which is essential for precise biscuit cutting.
Remember, practice makes perfect, so don't be discouraged if they don't come out right the first time. Embrace the process, and soon you'll have everyone asking for your secret!
Now, let's get to baking those delicious Chicken Pot Pie Biscuits!
Serving Suggestions

Chicken Pot Pie Biscuits aren't just a delightful dish on their own; they also shine when paired with the right accompaniments. To elevate your meal, consider serving these warm biscuits alongside a revitalizing side salad. A crisp mix of greens, like arugula and spinach, tossed with a tangy vinaigrette adds a burst of flavor that complements the richness of the biscuits beautifully.
For a heartier experience, why not whip up some roasted vegetables? Carrots, Brussels sprouts, and sweet potatoes drizzled with olive oil and herbs create a colorful plate that's both nutritious and tasty.
You can also serve a creamy soup, like a classic tomato or a rich chowder, for a comforting combo that warms the soul.
Don't forget a sprinkle of fresh herbs, like parsley or thyme, on top of your biscuits before serving. It not only enhances the visual appeal but also adds a fresh note to each bite. Additionally, consider using a stylish and functional salad bowl to beautifully present your side salad, enhancing the dining experience.
And if you want to indulge, a dollop of whipped cream or a scoop of ice cream can make for a delightful dessert to end your meal on a sweet note. Enjoy this cozy feast with friends or family, and watch everyone smile!
Variations to Try
If you're looking to shake things up, there are plenty of variations for Chicken Pot Pie Biscuits that can cater to different tastes and dietary preferences.
You don't have to stick to the classic recipe; let your creativity run wild! Here are three delicious variations to try:
- Vegetarian Delight: Swap out the chicken for a mix of your favorite vegetables, like mushrooms, carrots, and peas. Use vegetable broth instead of chicken broth for a flavorful base.
- Spicy Twist: Add some heat by incorporating diced jalapeños or a splash of hot sauce into your filling. This gives your biscuits a nice kick that'll spice up your dinner table!
- Cheesy Goodness: Mix in some shredded cheese, like cheddar or mozzarella, into your filling. This not only enhances the flavor but also creates a creamy texture that's absolutely irresistible.
With these variations, you can make Chicken Pot Pie Biscuits that suit any mood or occasion. Additionally, consider using multifunctional appliances to simplify your cooking process and enhance your culinary experience.
Storing Leftovers
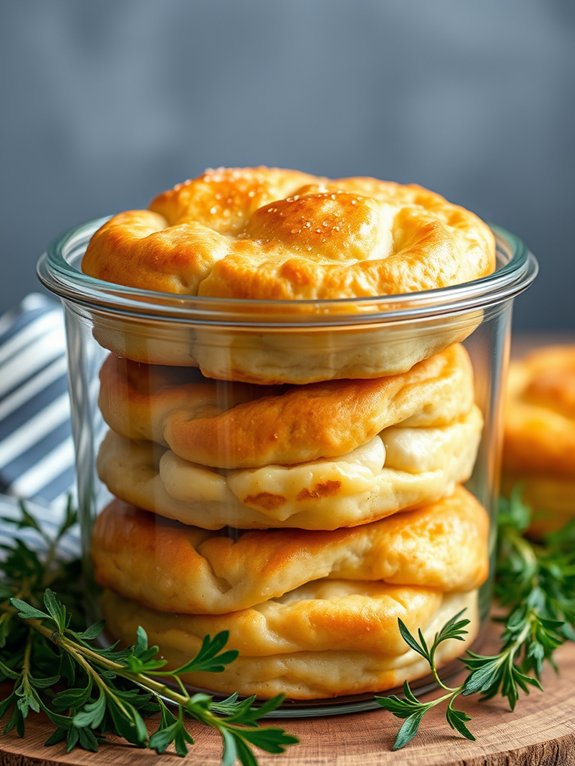
After enjoying your delicious Chicken Pot Pie Biscuits, you'll want to make sure those leftovers are stored properly to maintain their flavor and texture.
First, let the biscuits cool completely on a wire rack. This step is essential because trapping steam in an airtight container can make them soggy—nobody wants that!
Once cooled, place the biscuits in an airtight container, layering them with parchment paper to prevent sticking. If you've got leftover filling, store it in a separate container to keep everything fresh.
You can keep your leftovers in the fridge for up to three days, but they'll probably disappear much quicker than that!
If you know you won't finish them in time, consider freezing them. Wrap each biscuit tightly in plastic wrap and then place them in a freezer-safe bag. This way, you can enjoy your Chicken Pot Pie Biscuits at a later date!
When you're ready to indulge again, just reheat them in the oven for that fresh-baked taste. Trust me, your taste buds will thank you! It's also a good idea to use BPA-free materials for storing your food to ensure safety and quality.
With these easy storage tips, your delicious meal will be ready to enjoy whenever the craving hits.
Frequently Asked Questions
Can I Use Frozen Chicken for This Recipe?
Absolutely, you can use frozen chicken for your recipe!
Just remember to thaw it first, either overnight in the fridge or with a quick soak in cold water.
Once it's defrosted, chop it up and cook it just like fresh chicken.
You'll still get that juicy, delicious flavor you crave.
So go ahead, grab that frozen chicken, and let's whip up something amazing together.
You're going to love the results!
How Long Does It Take to Prepare the Filling?
Preparing the filling takes about 20 to 30 minutes, depending on how quickly you chop those veggies!
You'll sauté onions, carrots, and celery until they're tender, then add in your choice of meat and seasonings.
Once everything's cooked through and fragrant, you'll stir in some broth and maybe a splash of cream for richness.
Just imagine the delicious aroma filling your kitchen—it's absolutely worth the wait!
Get ready for an amazing dish!
What Can I Substitute for Buttermilk in the Biscuits?
If you don't have buttermilk on hand, don't worry! You can easily substitute it with a mixture of milk and vinegar or lemon juice.
Just add one tablespoon of either vinegar or lemon juice to a cup of milk, stir it, and let it sit for about five minutes. Voila! You've got your homemade buttermilk.
This little trick keeps your biscuits tender and fluffy, ensuring everyone goes back for seconds. Enjoy baking!
Is It Possible to Make This Dish Gluten-Free?
Absolutely, you can make this dish gluten-free! Just swap out regular flour for a gluten-free blend.
Look for one that includes xanthan gum, which helps with texture. You'll still get that delightful fluffiness!
For the filling, make sure your broth and veggies are gluten-free, too. It's all about finding the right ingredients.
With a little creativity, you'll whip up a dish that's just as comforting and delicious as the original—gluten-free goodness awaits!
Can I Freeze the Assembled Biscuits Before Baking?
Imagine a world where your biscuits freeze in their doughy glory, waiting patiently like excited puppies before the big bake-off!
Yes, you can absolutely freeze assembled biscuits before baking. Just shape them, place them on a baking sheet, and pop them in the freezer.
Once they're firm, transfer them to a freezer bag. When you're ready to indulge, bake them straight from the freezer—no thawing needed!
Enjoy that deliciousness!