

Cheesy One Pan Pizza Tortellini
Cheesy one pan pizza tortellini is your new go-to comfort dish, blending the joy of pizza with soft, cheesy tortellini! Start by sautéing some onions and bell peppers in olive oil, then toss in garlic to elevate those savory flavors. Add your fresh or frozen tortellini along with pizza sauce, and let it simmer until it's all tender and tasty. Don't forget to top it with gooey mozzarella for that stretch factor! Customize your meal with pepperoni or veggies, and serve it up with a side of garlic bread. Stick around to uncover even more delicious tips and tricks!
Recipe Highlights
- Use fresh or frozen cheese tortellini as the main ingredient for a creamy, cheesy base.
- Combine sautéed onions and bell peppers with pizza sauce for rich flavor.
- Top with mozzarella and Parmesan cheese, allowing them to melt into a gooey layer.
- Customize with various toppings like pepperoni, olives, or spinach for unique flavors.
- Serve in vibrant bowls, garnished with fresh herbs, and pair with refreshing beverages.
Ingredients You'll Need
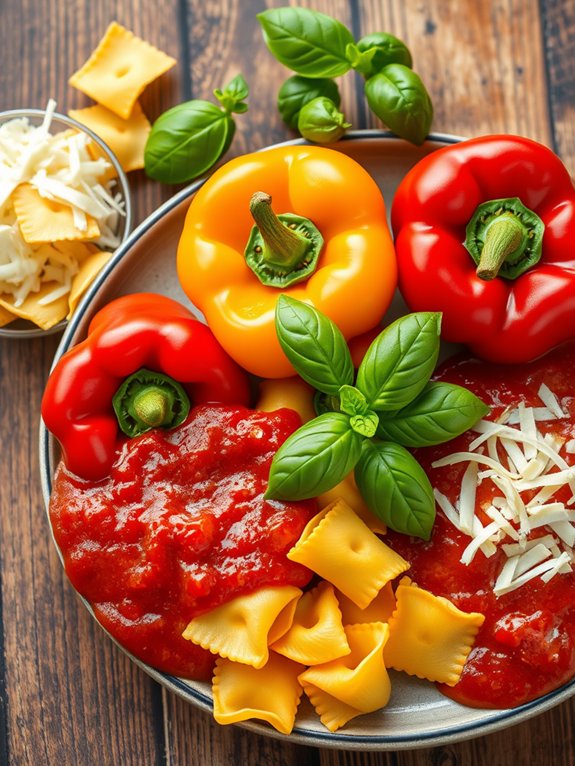
To whip up a delicious Cheesy One Pan Pizza Tortellini, you'll need a few key ingredients. First up, grab some cheese tortellini, the star of the show! Fresh or frozen, it doesn't matter; just make sure it's cheesy goodness.
Next, you'll want a jar of your favorite pizza sauce. This'll give you that classic pizza flavor you crave.
Don't forget the cheese! You'll need a mix of mozzarella for that stretchy, gooey goodness, plus some grated Parmesan for an extra kick of flavor.
Add some pepperoni or your favorite toppings to give it that authentic pizza vibe. You can also toss in some colorful bell peppers, onions, or even mushrooms to amp up the veggie factor.
And let's not overlook the spices: Italian seasoning and a pinch of red pepper flakes can elevate this dish to new heights. Cooking sprays, such as olive oil sprays, can help with easy cleanup and prevent sticking when preparing your one-pan meal.
Lastly, a sprinkle of fresh basil or parsley right before serving adds a touch of freshness.
With all these ingredients in hand, you're ready to create a meal that's bound to impress anyone lucky enough to join you at the table! So, let's gather those ingredients and get ready for a delicious adventure!
Step-by-Step Cooking Instructions
Now that you've gathered all your ingredients, it's time to start cooking! First, grab a large skillet and heat it over medium heat. Toss in a drizzle of olive oil and wait for it to shimmer.
Next, add your diced onion and bell pepper, sautéing them until they're tender and fragrant—about five minutes should do the trick!
Once your veggies are looking good, stir in the garlic and let it sizzle for about a minute. Now, it's time to add the cheesy tortellini and pizza sauce. Give it a good stir to make sure everything is coated evenly.
Pour in a splash of water, cover the skillet, and let it simmer for about 5-7 minutes until the tortellini is cooked through.
Uncover the skillet, sprinkle a generous amount of mozzarella on top, and cover it again for a few minutes until that cheese is melty and gooey. Using a high-quality non-stick skillet ensures that your cheesy tortellini doesn't stick, allowing for an easy cleanup after enjoying your meal, especially if it features durable non-stick coatings.
Tips for Perfect Tortellini
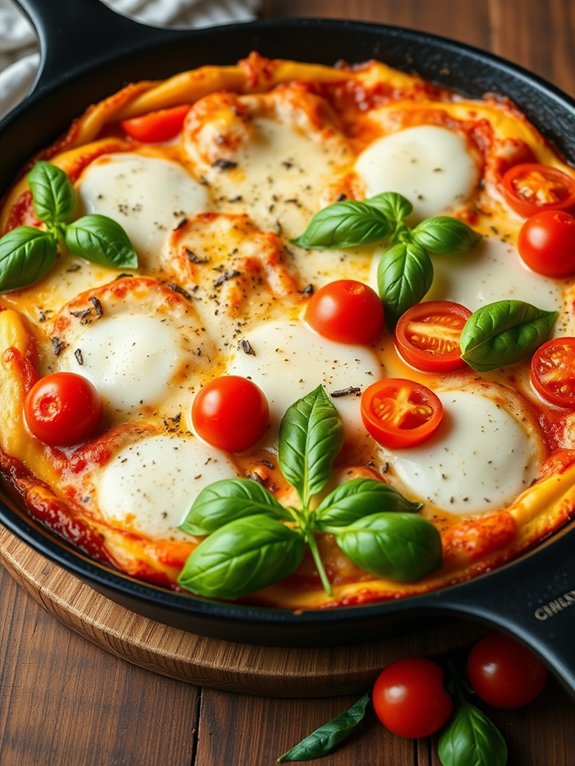
Perfecting tortellini is all about timing and technique. You want your pasta to be tender yet firm, creating that delightful bite we all crave. Start by boiling salted water; it should be as salty as the sea! Once it's bubbling, toss in your tortellini. Keep an eye on the clock—fresh tortellini usually cooks in just 3 to 5 minutes. Don't wander off!
As it cooks, stir gently to keep those little pasta pockets from sticking together. You can tell they're done when they float to the surface, kinda like a little pasta party! Use a slotted spoon to scoop them out, but don't forget to save a cup of that starchy cooking water. It's liquid gold for your sauce!
Now, if you're incorporating sauce, toss the drained tortellini in right away while it's still hot. This helps the flavors meld beautifully. If you want an extra touch, a sprinkle of cheese or fresh herbs can elevate your dish. Additionally, remember that steaming your vegetables while preparing your tortellini can enhance flavor and nutrient retention.
And remember, practice makes perfect! Each time you whip up tortellini, you'll get a little better, and soon, you'll be a tortellini master in your own kitchen! Enjoy every cheesy bite!
Customizing Your Dish
Customizing your dish is where the real fun begins! This cheesy one pan pizza tortellini isn't just a recipe; it's a canvas for your culinary creativity. You've got the basics down, but why stop there? Think about adding your favorite toppings to make it uniquely yours.
| Topping | Flavor Boost |
|---|---|
| Pepperoni | Classic & Spicy |
| Bell Peppers | Crunchy & Sweet |
| Olives | Savory & Briny |
| Spinach | Fresh & Earthy |
| Extra Cheese | Creamy & Indulgent |
Imagine a burst of flavor with every bite! Toss in some pepperoni for that classic pizza vibe, or add fresh spinach for a touch of health. Feel adventurous? Go for olives to bring that briny goodness! And let's not forget the cheese—because who doesn't want more cheesy goodness? Additionally, using high-quality stainless steel blades will ensure your shears remain sharp for effortless cutting while preparing your ingredients.
The beauty of this dish is its versatility. You can mix and match, creating an endless array of combinations. So grab what you love, and don't hesitate to experiment. Your taste buds will thank you, and you'll enjoy every cheesy bite!
Serving Suggestions
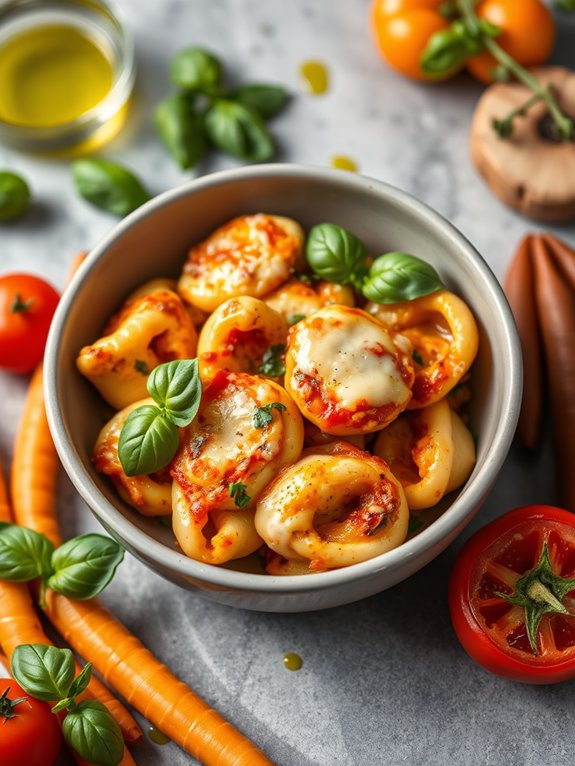
When it comes to serving your cheesy one pan pizza tortellini, a few thoughtful touches can elevate the meal. Start by plating the tortellini in vibrant, colorful bowls or plates; it instantly makes the dish more inviting.
Don't forget to sprinkle a generous handful of fresh basil or parsley on top for that burst of color and flavor.
Pair your dish with a side of garlic bread or a fresh Caesar salad. The crunch of the salad balances the cheesy tortellini perfectly, while the garlic bread is just begging to soak up every delicious drop of sauce.
For a fun twist, set up a mini topping bar! Offer extra toppings like pepperoni, olives, or even a drizzle of balsamic glaze. Let your family and friends customize their plates, making the meal interactive and exciting. Consider using durable materials for your serving platters to ensure they withstand the lively atmosphere of your gathering.
Lastly, serve a revitalizing beverage—perhaps a sparkling water with lemon or a chilled iced tea. This adds a nice touch to your meal and keeps things light.
Enjoy every bite of your cheesy one pan pizza tortellini; you've created a delightful feast that's sure to impress!
Frequently Asked Questions
Can I Use Frozen Tortellini for This Recipe?
Absolutely, you can use frozen tortellini for this recipe!
It's a fantastic time-saver and still delivers on flavor. Just toss those frozen little pockets of goodness straight into your dish—no need to thaw.
They'll cook up perfectly while soaking in all the delicious sauces and seasonings. Plus, you'll have a hearty, cheesy meal ready in no time!
How Long Does Leftover Pizza Tortellini Last in the Fridge?
When it comes to leftover pizza tortellini, you'll want to keep an eye on the clock!
Generally, it lasts about 3 to 5 days in the fridge. Just make sure to store it in an airtight container to keep it fresh and tasty.
If you're feeling adventurous, you can always add some fresh toppings before reheating!
Enjoy those delicious bites, because they're worth savoring! Don't let those leftovers go to waste!
Is This Dish Suitable for Vegetarian Diets?
Absolutely, this dish can be a fantastic fit for vegetarian diets!
Just make sure to use cheese tortellini and load it up with your favorite veggies, like bell peppers and spinach. You can even toss in some herbs for extra flavor!
With a gooey, cheesy base, it's not only delicious but also satisfying.
So, gather your ingredients, and let's create a tasty meal that everyone can enjoy, meat-eaters included!
[DIRECTIONS]:
Can I Make This Recipe Ahead of Time?
Absolutely, you can make this recipe ahead of time!
Just prepare everything as usual, then store it in the fridge. When you're ready to enjoy it, simply reheat it on the stove or in the oven for a few minutes.
Not only does this save you time, but it also allows those delicious flavors to meld even more.
Trust me, you'll love the convenience and taste of a meal prepped in advance!
What Is the Best Way to Reheat Leftovers?
Envision this: the aroma of savory flavors wafts through the air as you dig into your reheated leftovers.
To bring that deliciousness back to life, pop them in the oven at 350°F for about 15 minutes, or until bubbly.
You can also use a stovetop skillet over medium heat for a few minutes, stirring gently.
Either way, you'll enjoy that warm, cheesy goodness just like the first time—yum!


