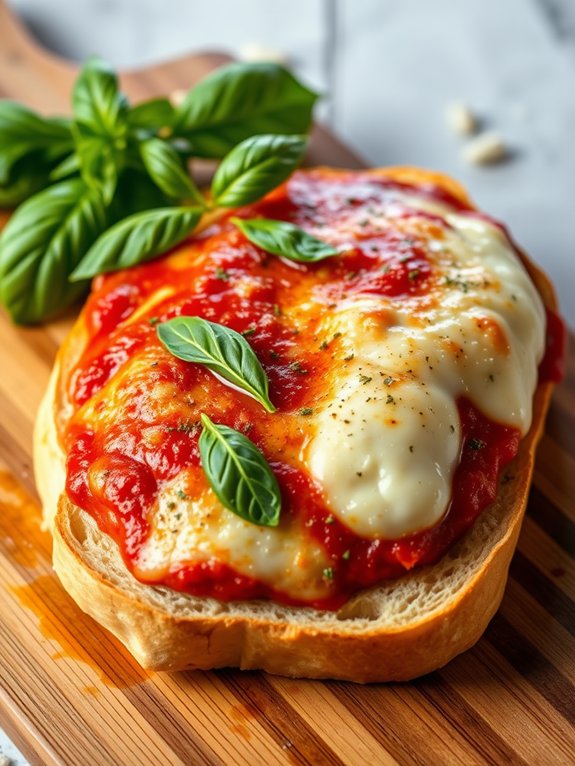
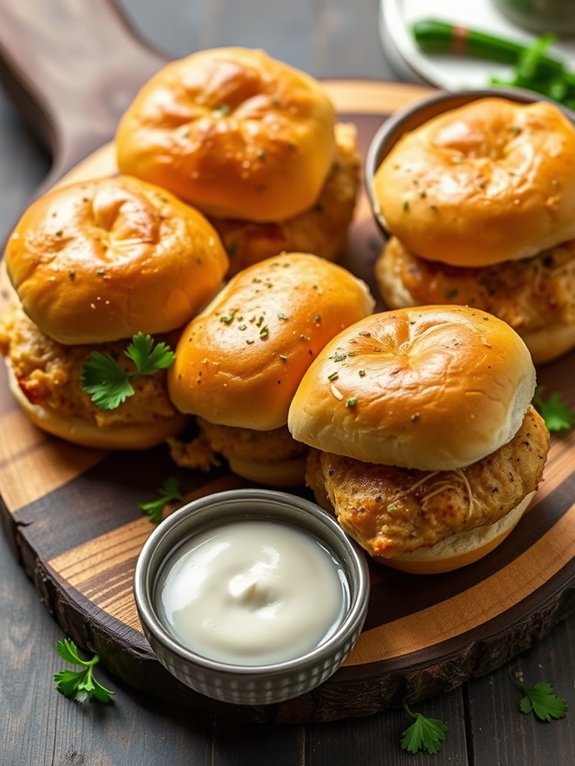
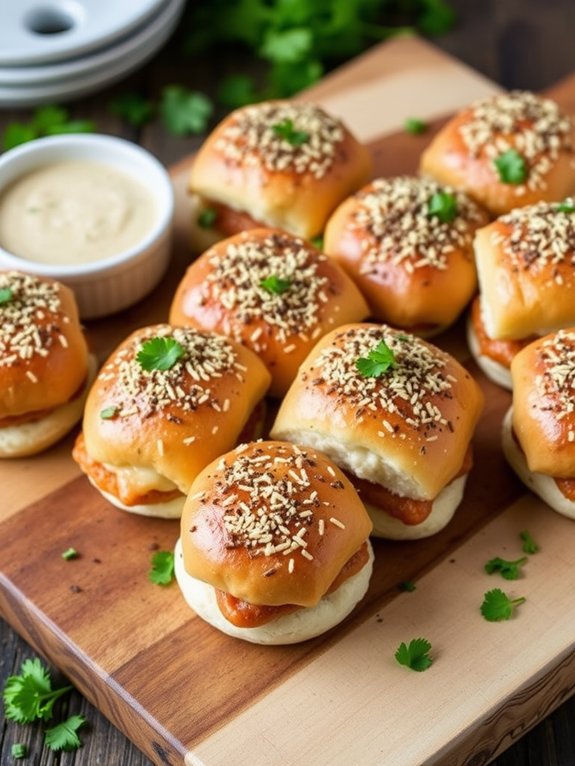
Parmesan Garlic Chicken Sliders
If you're ready for a flavor explosion, Parmesan garlic chicken sliders are your new go-to! Picture juicy, tender chicken breasts seasoned just right, mingling with freshly minced garlic and nutty Parmesan cheese. You'll bake them to golden perfection and pile them high on mini brioche buns or whole wheat sliders. Don't forget to whip up a buttery garlic mix for drizzling! These sliders pair perfectly with crispy fries, a fresh salad, or a topping bar for extra fun. Trust me, they'll be the hit of the party! And there's so much more to discover, so hang tight for all the tips!
Recipe Highlights
- Start with boneless, skinless chicken breasts, seasoned with salt and pepper, for flavorful sliders.
- Mince garlic and mix with melted butter for a rich garlic butter coating on the chicken.
- Bake chicken patties at 375°F for 20 minutes, flipping halfway for even browning.
- Serve sliders on mini buns with optional toppings like cheese, spicy mayo, and sautéed onions.
- Store leftover sliders in an airtight container for up to 4 days in the refrigerator.
Ingredients Needed
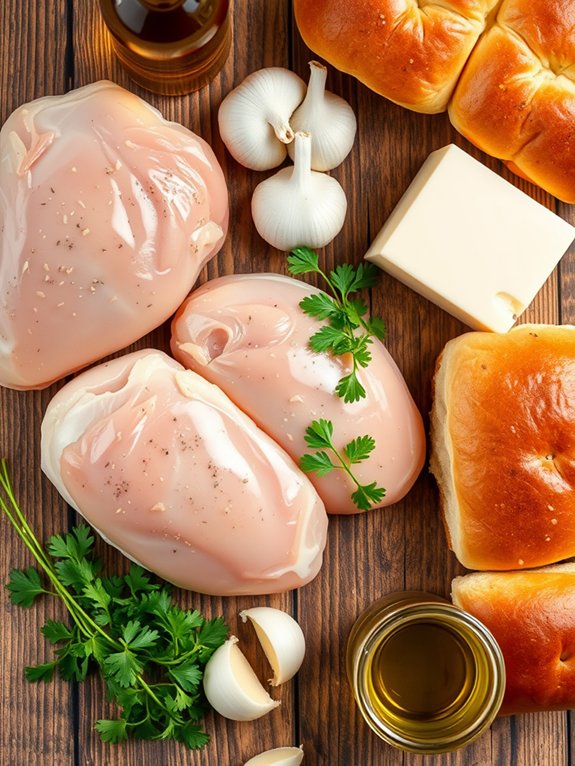
To whip up delicious Parmesan Garlic Chicken Sliders, you'll need a handful of key ingredients. First up, boneless, skinless chicken breasts are essential; they're the star of this savory show!
You'll also want some garlic, freshly minced if you can, because that's what gives these sliders their incredible flavor. Don't forget to grab grated Parmesan cheese—it adds a rich, nutty taste that'll have everyone coming back for seconds.
Next, pick up some slider buns. Whether you go for mini brioche or whole wheat, these little gems will cradle all that deliciousness perfectly.
You'll need a few more staples: olive oil, salt, and pepper. These help to season the chicken and enhance every bite.
For a touch of freshness, consider adding some chopped parsley or basil; they bring a burst of color and flavor. Additionally, using a good quality roasting pan can significantly improve the cooking results and enhance the flavor of your sliders.
Preparation Steps
Once you've gathered all your ingredients, it's time to get cooking! First, preheat your oven to 375°F (190°C) so it's ready to give your sliders that perfect crispy finish.
Next, you'll want to prepare your chicken. If you're using whole breasts, slice them into smaller pieces for easy slider assembly. Don't forget to season them generously with salt and pepper for that extra flavor kick!
While you're at it, get your garlic ready. Mince it finely so it blends beautifully into your chicken mixture. Oh, and don't overlook your Parmesan cheese—grate it fresh for maximum tastiness!
- Chop fresh herbs like parsley for a burst of color and flavor.
- Slice your slider buns in half, ready to cradle your delicious chicken.
- Set out any extra toppings you might want, like lettuce or tomatoes, to customize your sliders.
After prepping everything, you'll be all set to move on to cooking. The aroma of garlic and Parmesan will soon fill your kitchen, making it hard to resist! Additionally, using a slow cooker can enhance the flavors and tenderness of your chicken, making your sliders even more satisfying.
Cooking Instructions
Now that everything's prepped, it's time to cook those sliders to perfection. Preheat your oven to 375°F (190°C) because we want that nice, even heat.
Grab your baking sheet and line it with parchment paper to keep things tidy. Place the prepared chicken patties on the sheet, making sure they've a little space between them. This allows for even cooking and helps them crisp up nicely!
Once you've got them laid out, pop them in the oven and let them bake for about 20 minutes. You'll want to flip them halfway through to guarantee both sides get that golden-brown goodness.
While they're baking, you can whip up a quick garlic butter mix with melted butter and minced garlic – trust me, it's a game changer! Using a nonstick surface for your baking sheet can help prevent sticking and make cleanup easier.
When the sliders are done, they should be juicy and tender, with a beautiful, cheesy crust. Remove them from the oven and let them rest for a few minutes before assembling them.
This is the moment when the aroma fills your kitchen, and you can practically taste the deliciousness. Get ready; those sliders are going to be a hit!
Serving Suggestions
After letting those sliders rest, it's time to serve them up! You're in for a treat when you present these Parmesan Garlic Chicken Sliders at your next gathering. The aroma is irresistible, and they're sure to be a hit with your friends and family.
To elevate your slider game, consider these delightful serving suggestions:
- Pair with Crispy Fries: A side of golden, crispy fries is the perfect complement. Dip them in your favorite sauce for extra flavor!
- Fresh Salad: A vibrant garden salad with a light vinaigrette adds a revitalizing crunch to balance the richness of the sliders.
- Mini Pickles: Serve some tangy mini pickles on the side for that burst of flavor and crunch.
Don't forget to set up a fun topping bar! Let your guests customize their sliders with extra cheese, spicy mayo, or even sautéed onions.
Additionally, consider using a high-quality sheet pan collection to ensure even cooking and easy cleanup during your meal prep. This interactive element makes serving even more engaging. With each bite, your sliders will bring smiles and satisfaction.
Storage Tips
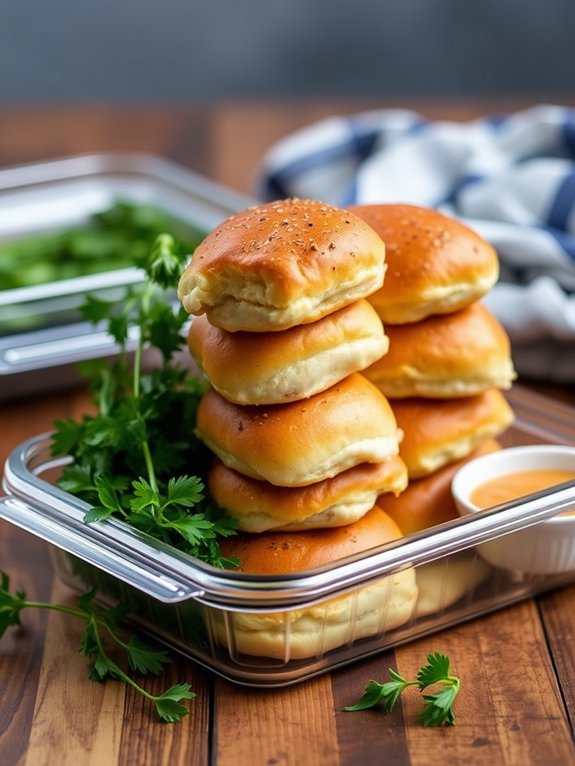
Storing your Parmesan Garlic Chicken Sliders properly guarantees they stay fresh and delicious for later enjoyment. To keep those tasty sliders irresistible, follow these easy storage tips! First, let them cool completely before storing. This prevents condensation from making them soggy. Next, wrap them tightly in plastic wrap or foil to keep air out and maintain their flavor. Additionally, using airtight seals can help maintain freshness and prevent spills during storage.
Here's a handy table to help you with storage:
| Storage Method | Duration |
|---|---|
| Room Temperature | 1 hour |
| Refrigerated | 3-4 days |
| Freezer (wrapped) | 2-3 months |
| Reheating (microwave) | 1-2 minutes |
| Reheating (oven) | 10-15 minutes |
When you're ready to enjoy your sliders again, simply reheat them. A microwave works fine, but for that delightful crunch, the oven is the way to go! Just remember, the fresher the sliders are when you store them, the better they'll taste later. With these tips, you can savor those Parmesan Garlic Chicken Sliders anytime, making every bite a joyful experience!
Variations to Try
Keeping your Parmesan Garlic Chicken Sliders fresh opens the door to exploring exciting variations that can elevate your meal. You don't have to stick to the classic recipe; release your creativity and make these sliders even more delightful!
Here are a few fun twists to contemplate:
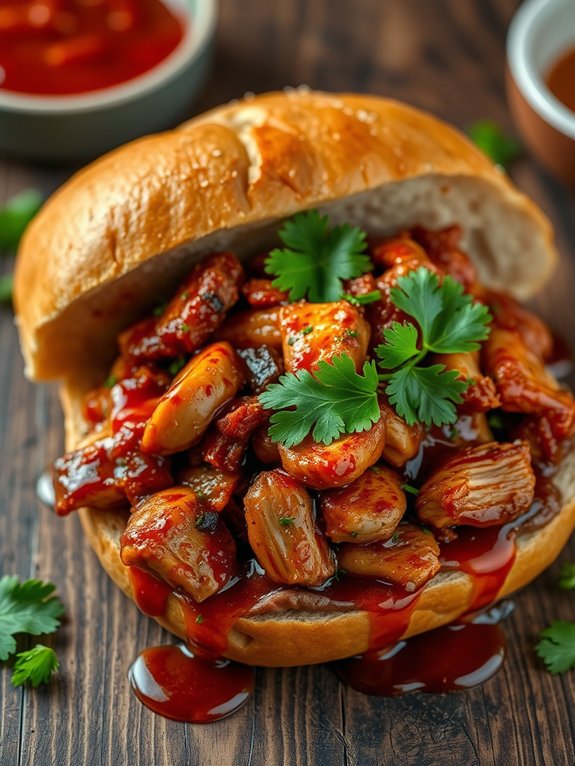
- Buffalo Chicken Sliders: Mix in some buffalo sauce with your chicken for a spicy kick. Top with blue cheese crumbles for an extra flavor pop!
- Pesto Parmesan Sliders: Spread a layer of pesto on your slider buns before adding the chicken. This adds a new, herby taste that's irresistible.
- Caprese Sliders: Layer fresh mozzarella, tomatoes, and basil on your chicken. Drizzle with balsamic glaze for a revitalizing and vibrant flavor combination.
These variations not only keep your sliders exciting but also cater to different tastes. Whether you crave spicy, herby, or fresh flavors, there's something for everyone. Additionally, consider using eco-friendly cocktail picks to serve your sliders, enhancing the presentation while being kind to the environment.
So, why settle for the same old routine? Try these variations and watch your sliders transform into a new culinary adventure that'll leave your taste buds dancing!
Enjoy the journey, and happy cooking!
Frequently Asked Questions
Can I Use a Different Cheese Instead of Parmesan?
Absolutely, you can use a different cheese instead of Parmesan!
Did you know that mozzarella is the most popular cheese in the world, making up over 30% of cheese consumption? It melts beautifully and adds a creamy texture to your dish.
You could also try sharp cheddar for a tangy kick or even feta for a unique twist.
Just remember, each cheese brings its own flavor, so choose one that excites your taste buds!
How Can I Make These Sliders Gluten-Free?
To make those sliders gluten-free, you've got some tasty options!
Swap regular buns for gluten-free ones or use lettuce leaves for a fresh twist. If you're feeling adventurous, try gluten-free tortillas or even portobello mushrooms as a base.
Just double-check all your ingredients, like sauces and seasonings, to verify they're gluten-free too.
With these simple swaps, you'll whip up sliders that everyone can enjoy, no gluten needed!
Get ready to dig in!
Are These Sliders Suitable for Meal Prep?
You'd think meal prep would be boring, but it's actually a chance to get creative!
These sliders are perfect for prepping ahead. You can whip them up, store them in the fridge, and enjoy deliciousness all week long.
Just pop them in the oven to reheat, and voilà! You've got a tasty meal ready to go.
Trust me, your future self will thank you for this flavorful, hassle-free option!
What Beverages Pair Well With Parmesan Garlic Chicken Sliders?
When you're enjoying those tasty sliders, you've gotta pick the right drinks! A crisp, cold lager pairs perfectly, cutting through the rich flavors.
If you're in the mood for something fruity, try a sparkling lemonade or a revitalizing iced tea—both will elevate your meal!
For a fun twist, consider a light white wine, like Sauvignon Blanc, to complement those savory notes.
Trust me, your taste buds will thank you for these choices!
Can I Freeze Leftovers for Later Use?
Absolutely, you can freeze those leftovers for later use!
Just make sure to let them cool completely before packing them into airtight containers or freezer bags. This way, you'll lock in all that delicious flavor!
When you're ready to enjoy them again, simply thaw in the fridge overnight and reheat.
It's like having a tasty meal waiting for you, ready to bring a smile to your face anytime you need it!